Build Beautiful Wooden Shelves: Easy Woodworking Projects for Beginners
Want to make your home look better while learning a rewarding skill? Building wooden shelves is a beginner-friendly woodworking project that’s affordable, customizable, and fun. Whether you’re looking to upgrade your home decor or develop new skills, this guide will show you how to create stunning shelves with simple tools and techniques.
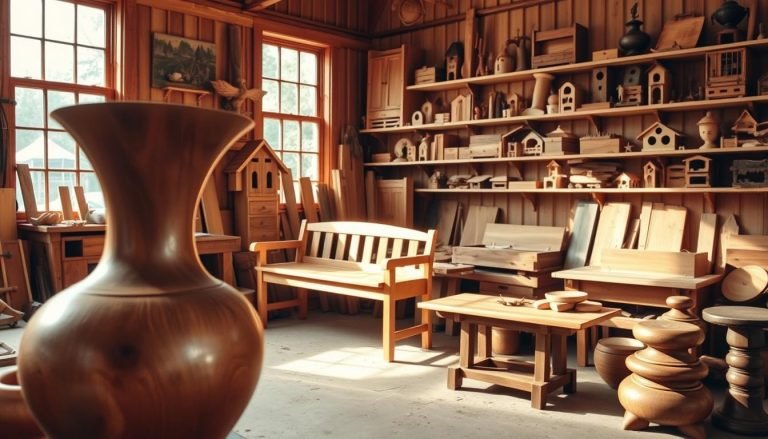
Getting Started with Shelves Woodworking

Creating wooden shelves is a great way to dive into woodworking. It’s straightforward, requires minimal materials, and allows for endless customization. Before you start, make sure you have the right tools and materials to set yourself up for success.

Essential Tools for Beginners
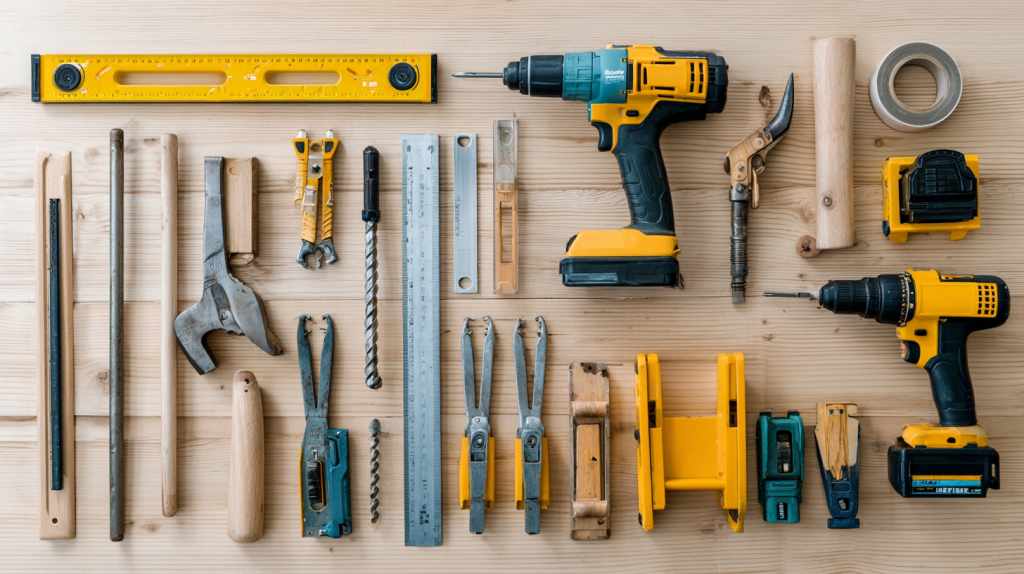
Here’s a list of must-have tools for your woodworking project:
- Measuring tape: For accurate measurements.
- Cordless drill: Drills holes and drives screws with ease.
- Level: Ensures your shelves are perfectly horizontal.
- Painter’s tape: Helps mark areas without damaging surfaces.
- Pencil or pen: For marking cuts and measurements.
Investing in quality tools is worthwhile—they last longer and make your projects easier. As you gain experience, you can expand your tool collection.
Basic Materials You’ll Need
The materials depend on your shelf design, but these basics apply to most projects:
- Shelf boards: The core of your shelving unit.
- Metal shelf brackets: Provide sturdy support.
- Bolts or screws: For assembly and installation.
Softwoods like pine are cost-effective and beginner-friendly, while hardwoods like oak and maple offer durability and a polished finish.
Planning Your Shelf Projects
A well-thought-out plan is the foundation of a successful woodworking project. It helps you stay organized and achieve professional results.
Taking Accurate Measurements
Accurate measurements are crucial for DIY shelves. Measure the width, height, and depth of the space where your shelves will go.
Tips for Accurate Measurements:
- Use a sturdy tape measure that won’t bend or stretch.
- Measure twice to ensure precision.
- Account for the thickness of the wood and space for brackets.
Creating Simple Woodworking Plans
Having clear woodworking plans simplifies the process and minimizes mistakes. Your plan should include:
- A detailed cut list to reduce waste.
- A materials list specifying wood, hardware, and finishes.
- Step-by-step instructions for assembly, sanding, and finishing.

By planning ahead, you’ll save time and create shelves that are both functional and beautiful.
Understanding Wood Types for Your Shelving Projects
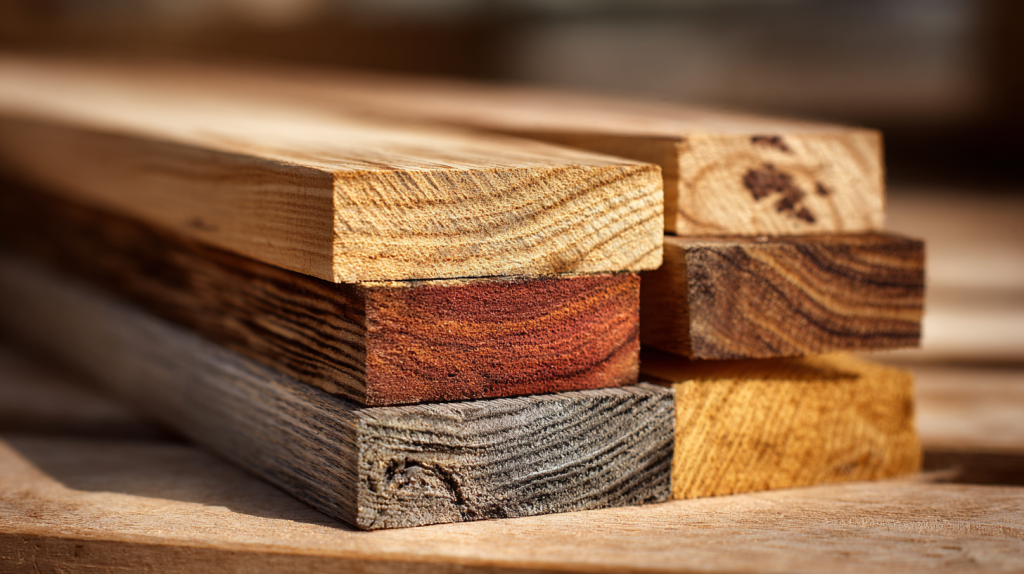
The type of wood you choose greatly impacts the durability, appearance, and cost of your shelves.
Softwoods vs. Hardwoods
Softwoods are lightweight and affordable, making them ideal for beginners. Examples include:
- Pine: Easy to work with and budget-friendly.
- Spruce: Great for light-duty shelves.
- Fir: Offers a clean, simple look.
Hardwoods, on the other hand, are denser and more durable, perfect for heavy-duty shelves. Popular options include:
- Oak: Strong, long-lasting, and elegant.
- Maple: Smooth finish and excellent durability.
- Cherry: Beautiful reddish tones that deepen over time.
Choose your wood based on your needs and budget. For heavier items, go for hardwoods; for lighter loads, softwoods are a practical choice.
Budget-Friendly Options for Beginners
If you’re just starting out, consider using affordable woods like pine or engineered wood. These materials are easy to work with and cost-effective. Enhance their appearance with proper sanding and finishing to achieve a polished look.
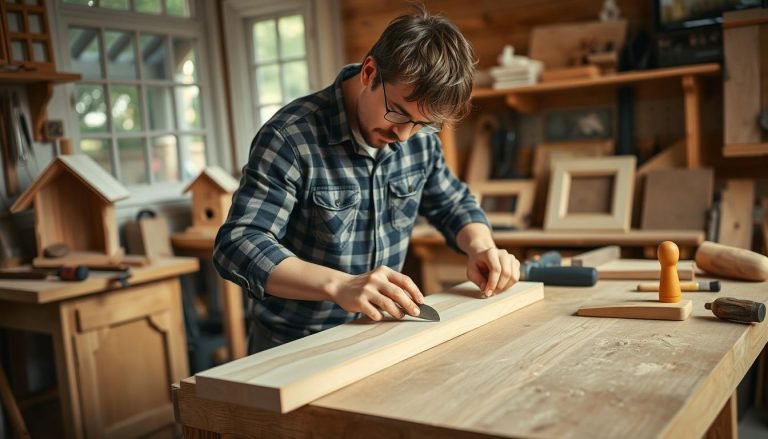
Safety First: Protecting Yourself During Woodworking
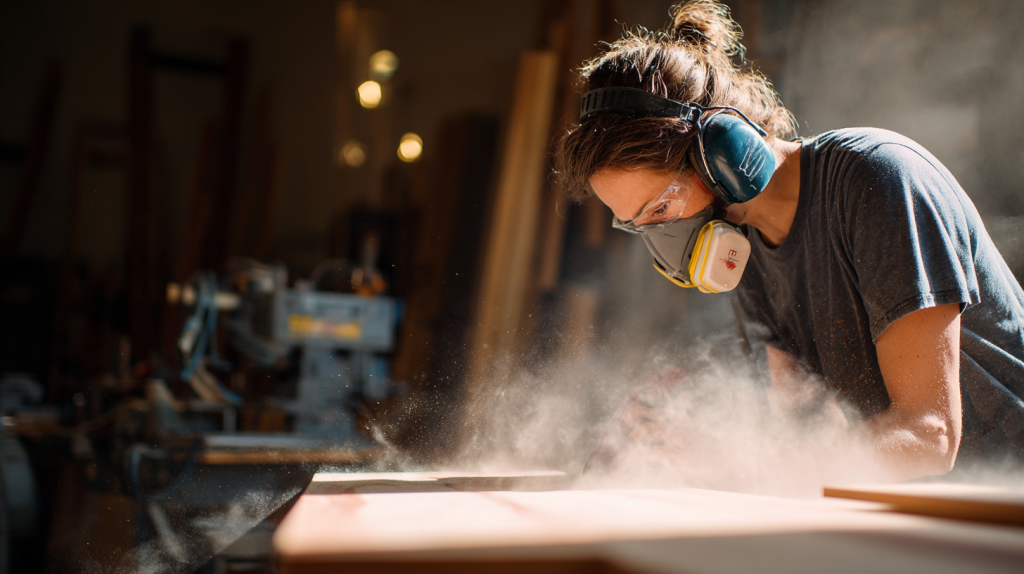
Safety is essential when working with tools and materials. Follow these tips to avoid accidents and enjoy a productive woodworking experience.
Personal Protective Equipment
Always wear personal protective equipment (PPE), including:
- Safety glasses: Protect your eyes from flying debris.
- Ear protection: Prevent hearing damage from loud tools.
- Dust mask: Avoid inhaling harmful wood particles.
Ensure your PPE is in good condition and use it consistently.
Workshop Safety Tips
Maintain a safe and organized workspace by:
- Keeping your area clean to prevent tripping hazards.
- Storing tools and materials in designated spots.
- Ensuring proper lighting to avoid mistakes.
“Safety is not just a priority—it’s a necessity in woodworking.”
Beginner-Friendly Projects
Ready to start building? Here are four beginner-friendly shelving projects to get you started:
Project 1: Simple Floating Shelf
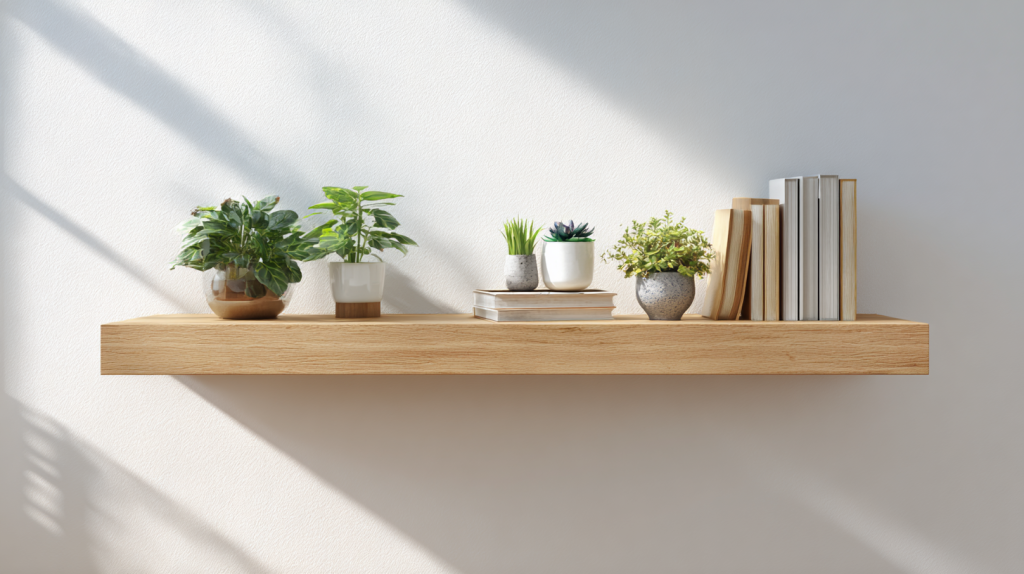
A floating shelf is a minimalist, stylish addition to any room. It’s easy to build and requires minimal materials.
Materials and Tools List
- 3/4-inch thick plywood or solid wood
- Wooden brackets
- Screws
- Drill, saw, sandpaper
- Optional: Wood finish
Step-by-Step Building Instructions
- Measure and cut the wood to the desired size.
- Sand the edges for a smooth finish.
- Attach brackets to the wall using screws.
- Secure the shelf to the brackets.
Tips: Ensure the shelf is level before securing it.
Project 2: Rustic Bracket Shelves
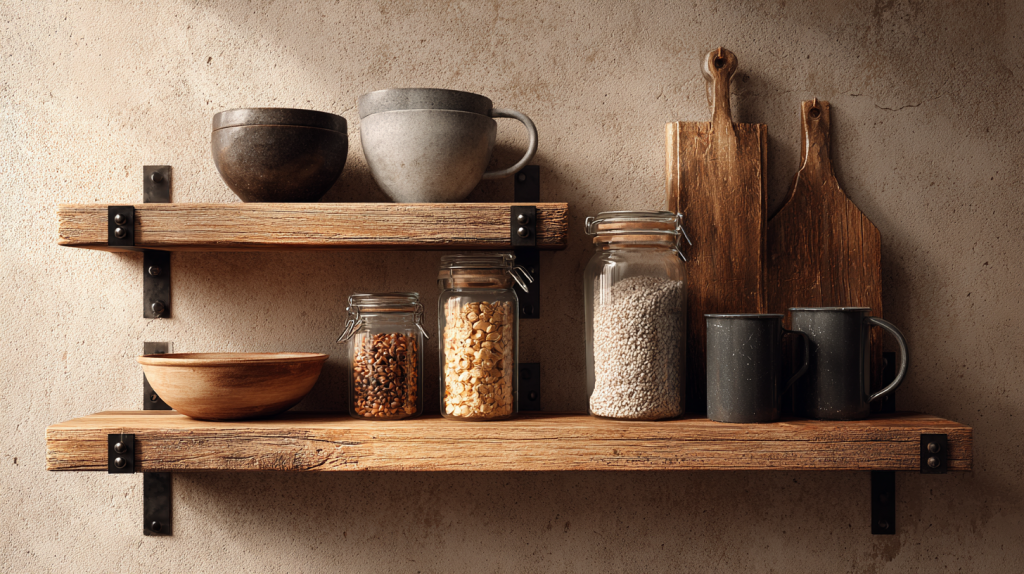
Rustic bracket shelves add warmth and charm to any space.
Materials and Tools List
- Wood for shelves and brackets (e.g., pine or oak)
- Screws, drill, saw, sandpaper
- Optional: Stain or paint
Step-by-Step Building Instructions
- Measure and cut the wood to size.
- Assemble and attach brackets to the wall.
- Place the shelf and secure it with screws.
Design Variations: Add distressed finishes or decorative elements for a unique look.
Project 3: Beginner-Friendly Bookshelf
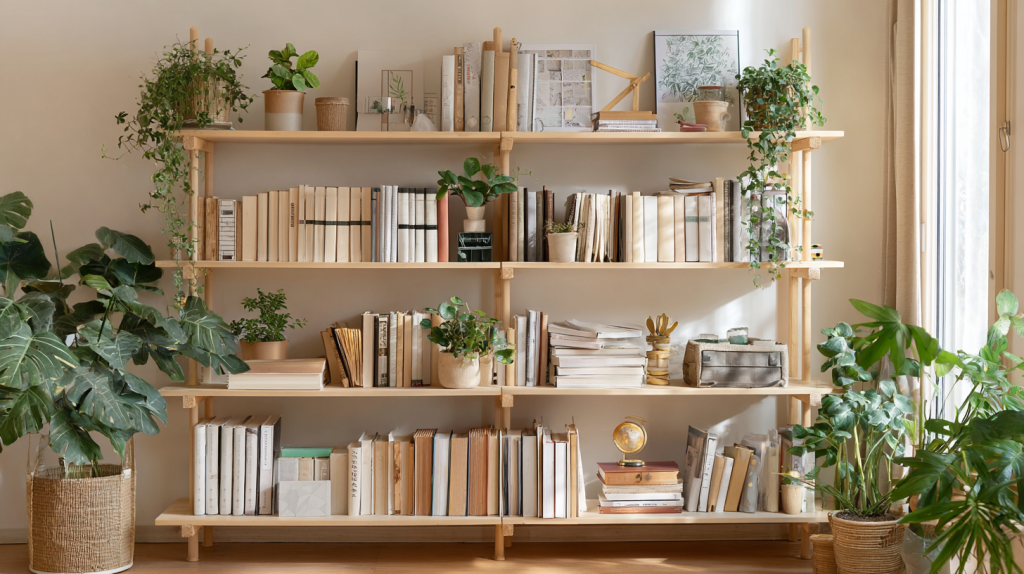
A bookshelf is a practical project that helps you learn essential woodworking techniques.
Materials and Tools List
- Plywood or MDF for shelves and back panel
- 1×4 lumber for the frame
- Wood glue, screws, clamps, sandpaper
Step-by-Step Building Instructions
- Assemble the frame using glue and screws.
- Attach supports and shelves.
- Sand the surfaces and apply a finish if desired.
Design Variations: Add crown molding or decorative trim for a polished appearance.
Project 4: Corner Shelving Unit
A corner shelving unit optimizes unused space and adds functionality.
Materials and Tools List
- Plywood or MDF for shelves
- 2×2 lumber for the frame
- Screws, wood glue, sandpaper
Step-by-Step Building Instructions
- Cut and assemble the frame.
- Attach shelves to the frame.
- Sand and finish the unit.
Design Variations: Add adjustable shelves or cabinet doors for versatility.
Finishing Techniques to Make Your Shelves Stand Out
The final touches can elevate your shelves from functional to stunning.
Sanding for a Smooth Finish
Sanding removes rough edges and prepares the wood for finishing. Use coarse-grit sandpaper first, then finer grits for a polished surface.
Tips:
- Sand with the grain to prevent scratches.
- Wipe away dust between sanding stages.
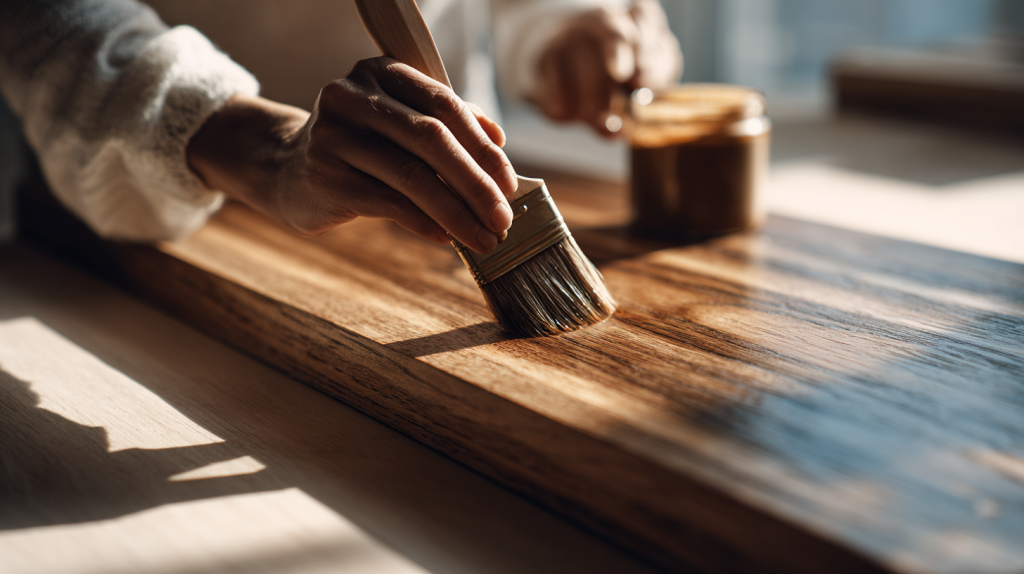
Staining and Painting Options
Choose staining to enhance the wood’s natural beauty or painting for bold colors.
| Finish Type | Characteristics | Best For |
|---|---|---|
| Stain | Highlights wood grain | Traditional designs |
| Paint | Offers vibrant colors | Modern styles |
Sealing and Protecting Your Work
Seal your shelves with polyurethane, varnish, or beeswax for durability.
Mounting and Installing Your DIY Shelves
Proper installation ensures your shelves are safe and functional.
Finding Wall Studs
Use a stud finder to locate wall studs for secure mounting.
Proper Hardware Selection
Choose screws or wall anchors based on your shelf’s weight capacity.
Ensuring Level Installation
Use a level tool to verify alignment before securing the shelves.
Conclusion
Building wooden shelves is a rewarding way to upgrade your space and develop your woodworking skills. With the right tools, materials, and techniques, you can create shelves that are both functional and beautiful.
Unlock your woodworking potential today →
For more inspiration, check out our ultimate guide to woodworking projects for beginners.
Start your woodworking journey now →
Get Ted’s Woodworking today →
FAQ
What are the essential tools needed for shelves woodworking?
A measuring tape, drill, saw, and sandpaper are key. Depending on the project, you may also need clamps or a router.
What type of wood is best for building shelves?
Softwoods like pine are affordable and easy to work with, while hardwoods like oak and maple offer durability and elegance.
How do I ensure accurate measurements for my shelf project?
Double-check measurements using a sturdy tape measure. Create a detailed plan to avoid mistakes.
What safety precautions should I take when working with power tools?
Wear PPE, keep your workspace tidy, and follow manufacturer instructions for tools.
How do I finish and protect my wooden shelves?
Sand the wood, then apply stain or paint. Seal with polyurethane or beeswax for added durability.
What are some common mistakes to avoid when building shelves?
Avoid inaccurate measurements, weak supports, and skipping the finishing process.
How do I mount and install my DIY shelves?
Locate wall studs, use appropriate hardware, and ensure the shelves are level.
Can I customize my shelves to fit a specific space or design?
Absolutely! Adjust dimensions, materials, and finishes to suit your space and style.
Start your woodworking journey today and create stunning shelves that enhance your home and reflect your creativity!