Adirondack Chair Woodworking Plan: Build a Classic Outdoor Favorite
Do you want to make your outdoor area better? The Adirondack chair is a great choice. It’s comfy and lasts a long time. Making one is a fun woodworking project.

With a good woodworking plan, you can make a lovely Adirondack chair. It will be the best part of your garden or patio. This article will show you how to do it, step by step.
By the end of this article, you’ll know how to start making your Adirondack chair. For more help, check out Ted’s Woodworking Plans. They have lots of plans and guides for different projects.
Key Takeaways
- Learn how to build a classic Adirondack chair using a woodworking plan.
- Understand the benefits of creating your own outdoor furniture.
- Discover the steps involved in completing a successful woodworking project.
- Explore resources for detailed woodworking plans and instructions.
- Enhance your outdoor living space with a beautifully crafted Adirondack chair.
The Timeless Appeal of Adirondack Chairs
Adirondack chairs have been loved for outdoor decor since they started. They are known for being comfy, lasting long, and looking good. This chair has been a favorite in many outdoor areas for years.

History of the Adirondack Design
Thomas Lee made the Adirondack chair in 1903. He was inspired by the Adirondack Mountains in New York. His design had a wide seat and back, and big armrests for comfort.
After being shown in magazines, more people wanted an Adirondack chair. The design has changed a bit over time. But, its main features are still the same, making it loved for years.
Why Adirondack Chairs Remain Popular
So, why do people still love Adirondack chairs? Here are a few reasons:
- Comfort: The chair’s slanted back and wide armrests make it comfy for sitting outside.
- Durability: Made from strong woods like cedar or pine, they can handle the weather.
- Aesthetic Appeal: The chair’s classic look fits many outdoor styles, from old to new.
These reasons make the Adirondack chair a top pick for outdoor furniture. You can either make one yourself or buy one. Either way, it’s a great choice for outdoor seating.
Benefits of Building Your Own Adirondack Chair
Building your own Adirondack chair brings many benefits to your outdoor space. It’s more than making furniture. It’s about making a special experience.
One big plus is the cost savings. You pick the materials and design. This way, you make a great chair without spending a lot.
Cost Savings Compared to Store-Bought Options
Building your own chair lets you:
- Choose materials that fit your budget
- Save on retail markups
- Use your time instead of money, making it a smart DIY choice
This saves you money. It also lets you spend more on what you really want in your chair.

Customization Possibilities
With a DIY chair, you can customize everything. You can pick the wood and the finish color. This way, your chair will match your outdoor decor perfectly.
Some things you can customize include:
- Choosing wood that fits your style and budget
- Designing the chair to fit your space
- Adding special features like armrests or footrests
The Satisfaction of Craftsmanship
There’s a deep joy in making something with your own hands. Building an Adirondack chair lets you feel this joy.
As you work, you’re not just making furniture. You’re also learning new skills and enjoying the process. This joy makes all the effort worth it.
By making your own Adirondack chair, you’re adding a special touch to your home. It becomes a part of your home’s character.
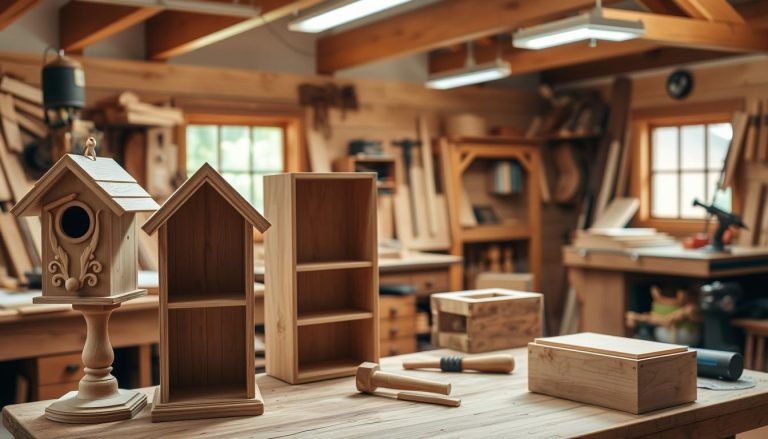
Essential Materials for Your Woodworking Adirondack Chair Project
A great Adirondack chair starts with good materials. It’s key to pick materials that can handle the weather and last long.
Best Wood Types for Outdoor Furniture
For an Adirondack chair, choose wood that’s strong and won’t rot or get bugs. Some top outdoor wood types are:
- Cedar: It fights off rot and bugs and smells nice.
- Teak: A hard wood that lasts long and doesn’t get weathered.
- Cypress: A soft wood that’s good against rot and bugs, great for outdoor stuff.
- Pressure-Treated Pine: It’s cheap and treated to fight rot and bugs.
Each wood has its own good points. Your choice depends on what you like, your budget, and the look you want.
Hardware and Fasteners You’ll Need
You’ll also need the right hardware for outdoor furniture to put your chair together. This includes:
- Screws: Use stainless steel or coated ones to stop rust.
- Nails: Go for galvanized or stainless steel for strength.
- Wood glue: A waterproof glue to make joints strong.
- Hinges and brackets: For the chair’s moving parts.
Right hardware makes your chair strong and safe to use.
Quantity and Dimensions Guide
Here’s a basic guide for planning your Adirondack chair:
| Material | Quantity | Dimensions |
|---|---|---|
| Lumber (Cedar/Teak) | 10 pieces | 1″ x 4″ x 8′ |
| Screws | 50 | 2.5″ stainless steel |
| Nails | 20 | 1.5″ galvanized |
| Wood Glue | 1 bottle | 8 oz |
This guide is a starting point. You might need to change it based on your design.
Tools Required for Building Your Chair
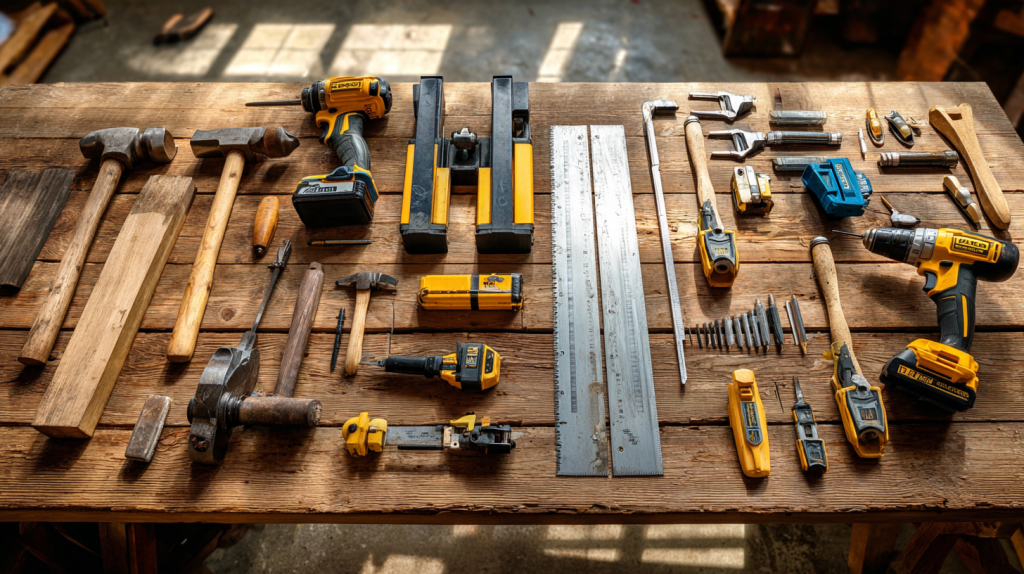
Before starting your Adirondack chair, you need the right tools. The right tools make the job easier and ensure your chair is great.
Basic Hand Tools
Hand tools are key for any woodworking job. For your chair, you’ll need:
- Claw hammer: For driving nails and fitting parts together.
- Tape measure: To measure and mark your wood accurately.
- Square: Ensures your cuts and assemblies are square.
- Level: To verify that your workspace and chair components are level.
- Hand saw or backsaw: For making precise cuts in wood.
- Chisel set: Useful for removing small amounts of wood and fitting joints.
- Clamps: Bar clamps and C-clamps are essential for holding your workpieces in place while gluing.
Power Tools That Make the Job Easier
Power tools can speed up your project and make it more accurate. Consider using:
- Table saw or circular saw: For making straight cuts in lumber.
- Miter saw: Ideal for precise angled cuts.
- Jigsaw or bandsaw: Useful for curved cuts.
- Drill-driver: For drilling holes and driving screws.
- Sander: To smooth out the wood surfaces.
- Kreg Tools: For creating strong, hidden joints.
Power tools can greatly improve your Adirondack chair project’s efficiency and quality.
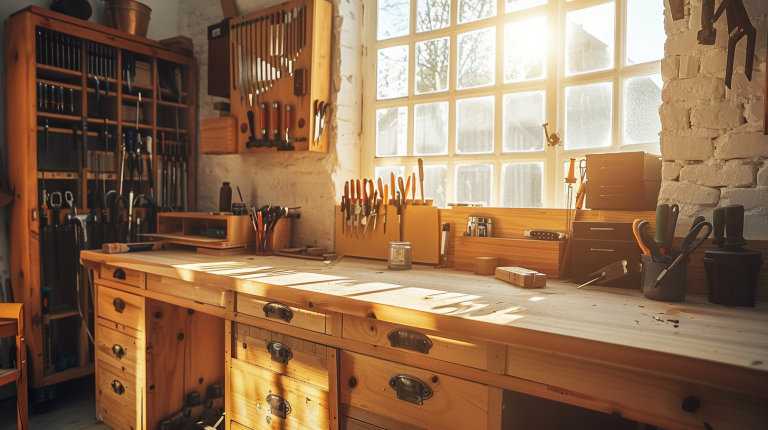
Setting Up Your Workspace
A good workspace is key for a successful project. Here’s how to set up your space:
- Clear a dedicated workspace: Make sure you have enough room for your plans and materials.
- Organize your tools: Keep your tools close to save time.
- Use proper lighting: Good lighting is important for accuracy and safety.
- Implement safety measures: Wear protective gear like safety glasses and hearing protection.
| Tool | Purpose | Essential/Optional |
|---|---|---|
| Claw hammer | Driving nails and fitting parts | Essential |
| Miter saw | Precise angled cuts | Essential |
| Jigsaw | Curved cuts | Optional |
| Kreg Tools | Hidden joints | Essential |
| Sander | Smoothing wood surfaces | Essential |
With the right tools and a good workspace, you’re ready to start your Adirondack chair project.
Understanding Your Adirondack Chair Woodworking Plan
Before you start making your Adirondack chair, take time to really get the plan. Knowing the plan well helps you avoid mistakes. This way, your chair will turn out just right.
Reading and Interpreting the Blueprint
The blueprint is a detailed guide for your chair project. Read it all before you start. Look at the materials list, cutting steps, and how to put it together. Make sure to note any special measurements or angles.
As Woodcraft says, “A good plan should give clear instructions.” Find plans with detailed diagrams and easy steps. This makes building easier.
Key Measurements and Angles
Getting measurements and angles right is key in woodworking. Your plan should list exact sizes for each part. Check these against your materials for a good fit.
The chair’s design has special angles, like the slanted back and seat. Make sure you know how to make these angles with your tools and plan.
Making Templates for Consistent Cuts
Templates help make cuts the same, which is great for many pieces. Your plan might suggest making templates. Use strong materials like plywood or MDF for them.
Experts say,
“The best way to ensure accuracy is by using a template. It saves time and reduces waste,”
which is true for your chair project too.
By following these tips and understanding your plan, you’ll make a beautiful and useful Adirondack chair.
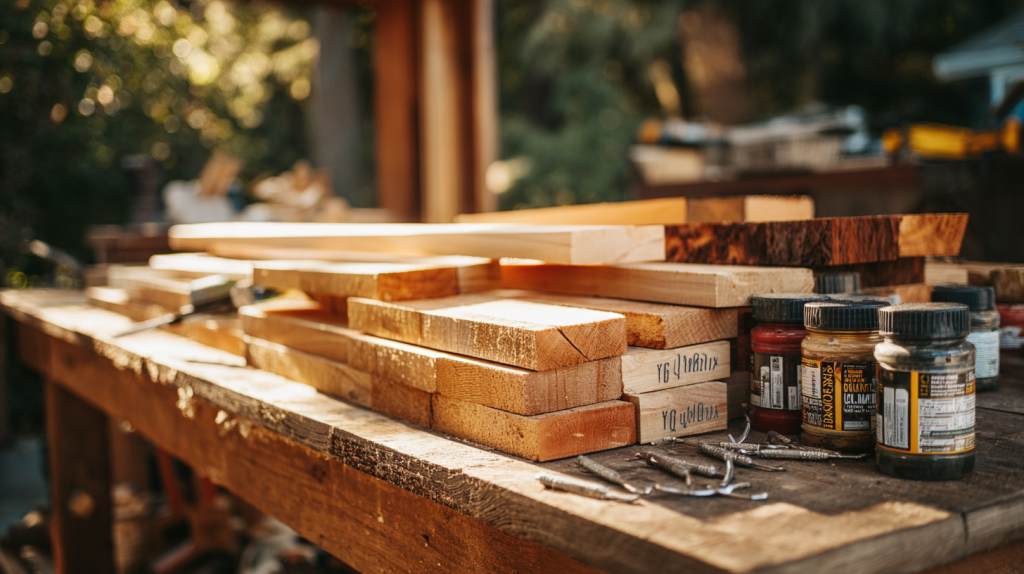
Preparing Your Materials
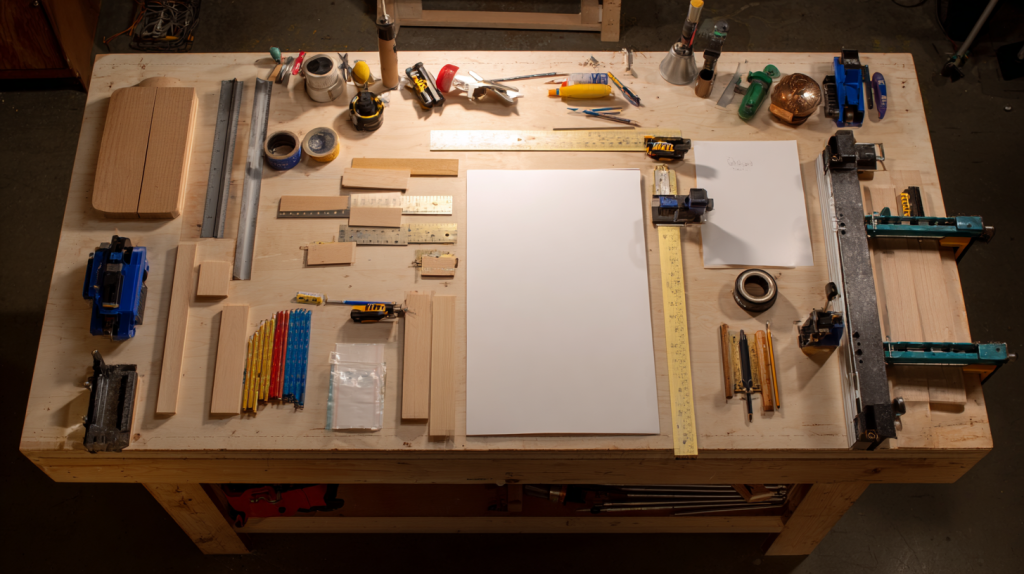
Getting your materials ready is key to making a strong and nice Adirondack chair. This step makes sure you have everything you need, the right size, and ready to put together.
Selecting and Inspecting Lumber
Choosing the right lumber is very important. Look for wood that is straight and has no big knots. It should also have a grain that looks the same all over. Check each piece for damage or if it’s warped.
For a chair that will be outside, pick woods like cedar or teak. They can handle the weather better.
Tips for Inspection:
- Look for cracks or splits that could make the wood weak.
- Make sure the wood is dry to avoid it warping.
- Check for any signs of bugs or rot.
Cutting Your Wood to Size
After picking your lumber, it’s time to cut it to size. Use a sharp saw for clean cuts. Always double-check your measurements before cutting. Making a cutting list from your plan helps keep things organized.
Organizing Your Pieces
After cutting, organize your pieces in the order you’ll use them. Labeling each piece helps a lot, especially if you have many parts that look alike. Keep your work area tidy to avoid getting confused or making mistakes.
By preparing well, you’ll make putting your chair together easier and more fun. You’ll end up with a chair you’ll be happy to show off on your porch or patio.
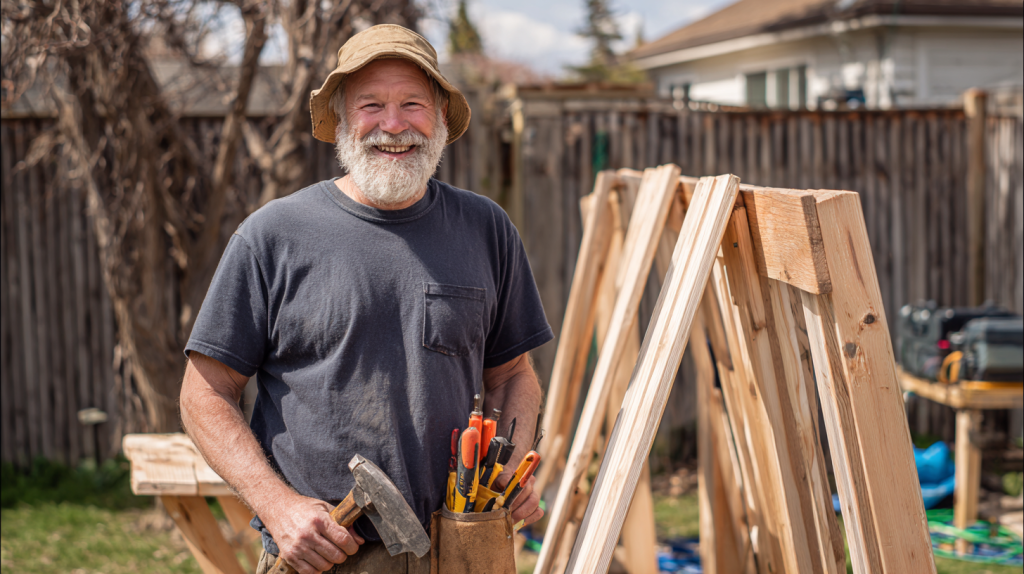
Step-by-Step Adirondack Chair Construction
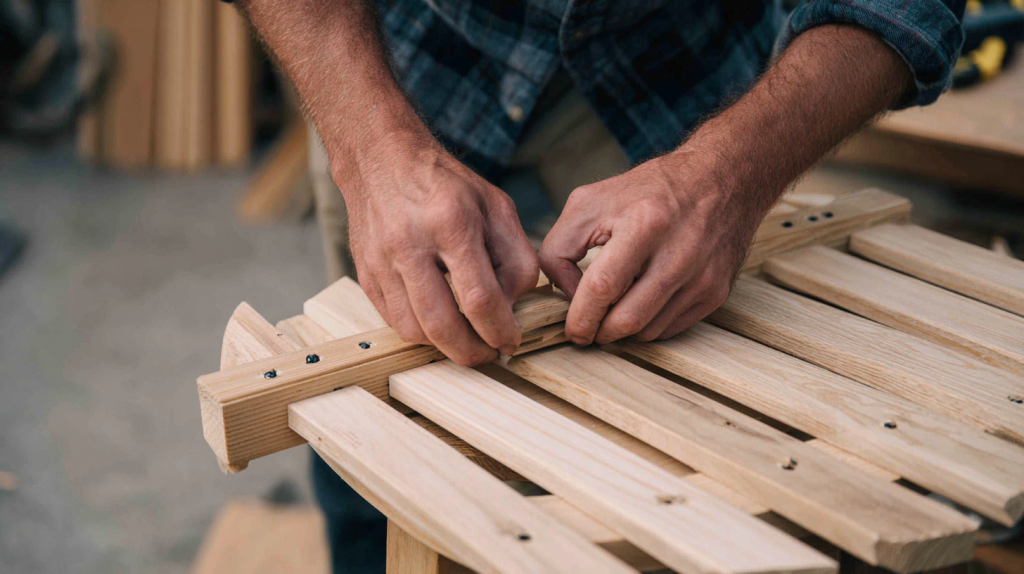
Building an Adirondack chair is a fun project. It needs careful work and the right steps. You’re all set to start making your chair.
Building the Seat Base
The seat base is the chair’s foundation. It supports the whole thing. Start by assembling the seat slats as your plan shows. Make sure they’re even and tight to the side rails.
Use galvanized or stainless steel screws to keep it from rusting. This makes it last longer.
Then, attach the seat base to the legs. Make sure it’s level and strong. This is key for the chair’s stability.
Constructing the Chair Back
The chair back is what makes it special. Begin by assembling the backrest slats and attaching them to the frame. Make sure they’re even and the frame is strong.
After that, attach the backrest to the chair’s rear legs. You need to align it right for the perfect angle and secure hold.
Adding the Armrests and Supports
The armrests make the chair comfy and look good. Attach the armrests to the sides. Make sure they’re level and tight.
Lastly, add any extra supports your design needs. This could be center supports for the seat or backrest for more stability.
Now, your Adirondack chair is coming together. Check that all joints are tight and the chair is sturdy. Then, you can move on to the finishing touches.
Sanding and Finishing Your Woodworking Adirondack Chair
To make your Adirondack chair last outside, sand and finish it right. Sanding makes the wood smooth and ready for the finish. This makes your chair strong and look great.
Proper Sanding Sequence
Start sanding with coarse-grit sandpaper (80-100 grit) to get rid of rough spots. Then, use finer grits (120-150 grit and 220 grit) for a smooth finish. Always sand with the wood grain to avoid scratches.
- Begin with 80-100 grit sandpaper for initial smoothing.
- Move to 120-150 grit for further refinement.
- Finish with 220 grit for a silky smooth surface.
Tip: Use a sanding block for flat surfaces and sanding pads or sponges for curved areas to maintain even pressure.
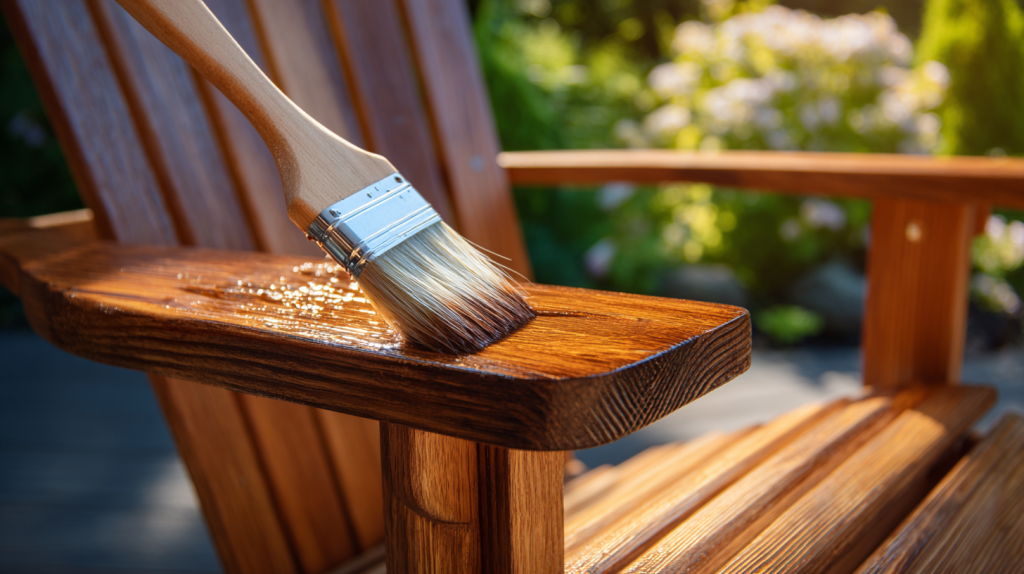
Finish Options for Outdoor Durability
Choosing the right finish is key to protect your chair from the weather. Here are some good options:
- Water-Based Polyurethane: Easy to apply and dries fast, but not as tough as oil-based.
- Oil-Based Polyurethane: Gives a hard, durable finish but takes longer to dry and clean up.
- Cedar Finish or Natural Oil: Makes the wood look natural and offers some protection, but needs more frequent reapplication.
Think about the wood type and how much protection you need when picking a finish.
Application Tips for a Professional Look
To get a professional finish, follow these tips:
- Apply the finish in a well-ventilated area, following the manufacturer’s instructions.
- Use a high-quality brush or foam applicator to ensure an even coat.
- Allow the finish to dry as instructed before adding more coats.
- Sand lightly between coats to remove any dust or imperfections.
By following these steps and tips, you’ll get a beautifully finished Adirondack chair. It will last outside and give you years of comfort and fun.
Troubleshooting Common Challenges
When you’re making an Adirondack chair, you might face problems like parts not fitting right or wood warping. Knowing how to fix these issues can save you a lot of trouble. It’s key to solving your woodworking project.
Dealing with Warped Wood
Warped wood is a big problem when making outdoor furniture. Check your wood carefully before you start. If it warps while you’re working, try to fix it by adding moisture and using clamps.
Tips for Preventing Warped Wood: Keep your wood in a dry, well-ventilated spot. Make sure it’s supported well to avoid warping.
Fixing Alignment Issues
Alignment problems can make your chair weak or uncomfortable. To fix this, check your measurements against the plan. Make sure all parts are labeled and in the right place.
Using a story stick or template helps keep your cuts and assembly right. This reduces alignment problems.
Solutions for Common Assembly Problems
Assembly problems can come from wrong measurements, parts not fitting, or not enough clamping. Take your time and clamp parts well to avoid these issues.
If screws or nails don’t fit, check your holes are the right size. Using a countersink can also help.
Knowing how to solve these common problems can make your Adirondack chair project a success. You’ll end up with a beautiful, useful piece of outdoor furniture.
Customizing and Enhancing Your Chair

Your new Adirondack chair is more than furniture. It’s a blank canvas for your personal touch. You might think about making it special for your outdoor space or adding more comfort.
Color and Stain Options
Changing the stain color is a simple way to make your chair unique. Pick a color that fits your outdoor decor or stands out. Think about your patio or garden’s colors when choosing.
Popular stain options include natural wood tones and weathered wood grays. You can also try distressing techniques for a vintage look.
Adding Comfort with Cushions
Cushions can make your Adirondack chair even more comfy. Choose cushions that match your decor or contrast for a bold look. Use durable, weather-resistant materials.
Think about the cushion’s thickness and density for the best comfort. Adding a throw blanket or pillow can also make it yours.
Complementary Projects: Side Tables and Footrests
Building side tables or footrests can make your outdoor space better. They add function and beauty to your area.
A side table is a simple project for drinks and snacks. A footrest makes your chair even more comfy for relaxing.
Customizing your chair and adding pieces like these makes your outdoor space special. It shows off your style and offers a cozy retreat.
Conclusion: Enjoying and Maintaining Your Handcrafted Adirondack Chair
Now that you’ve built your Adirondack chair, it’s time to enjoy it. Keeping your outdoor furniture in good shape is important. This way, your chair will stay comfy and stylish for many years.
Check your chair often for any damage. If you find any, use a protective finish to keep it safe from the weather. A little care will keep it looking great and lasting long.
With your new skills, you can make even more things. Check out 16,000+ easy woodworking plans. Start building today with Ted’s Woodworking Plans.
Unlock your woodworking potential today → Get your 16,000+ woodworking plans here.
FAQ
What type of wood is best for building an Adirondack chair?
Cedar, teak, or cypress are great for outdoor chairs. They last long and need little care.
What tools do I need to build an Adirondack chair?
You’ll need hand tools like a tape measure and clamps. Power tools like a saw and drill are also key. The right tools make building easier.
How do I ensure my Adirondack chair is sturdy and durable?
Use strong joints like mortise and tenon. Secure with weather-resistant screws. A protective finish helps too.
Can I customize my Adirondack chair design?
Yes, you can make it your own. Change sizes, add features, or pick different wood and stains.
How do I maintain my Adirondack chair to extend its lifespan?
Check the wood often and apply finish as needed. Clean it and store it safely in bad weather.
What are some common mistakes to avoid when building an Adirondack chair?
Don’t use wrong materials or skip steps. Double-check your work and follow plans well.
Can I build an Adirondack chair as a beginner woodworker?
Yes, beginners can make an Adirondack chair. Start simple and learn as you go. Ask for help if needed.
Start your woodworking journey now → Get Ted’s Woodworking today.